Quick Guide to Released Glycan Analysis
Follow this short guide and learn how to get started with Released Glycan Analysis, including Released Glycan (N-linked), Released Glycan (O-linked), and Released Glycan (IgG) workflows.
Released Glycan (N-linked), Released Glycan (O-linked), and Released Glycan (IgG) Workflows
These Released Glycan workflows all have four separate tabs: Samples, Glycan table, Glycan options, and Processing nodes. Please note the default setting for these analyses are set to process in negative mode.
Create a Workflow
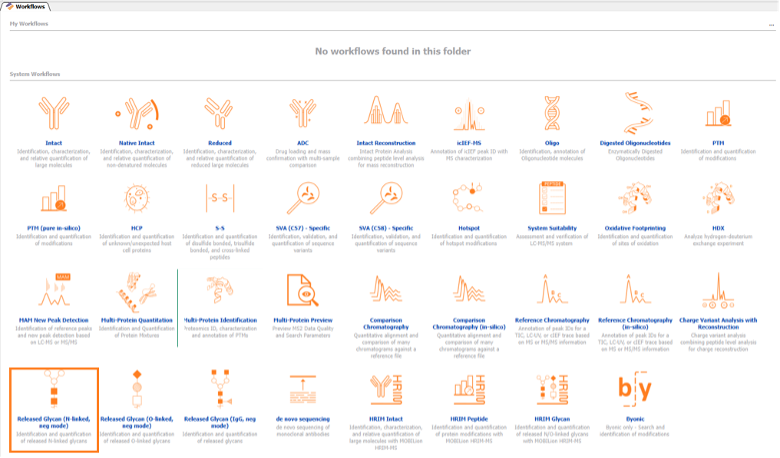
Click to launch any of the above mentioned workflows. In the figure below, the Released Glycan (N-linked, neg mode) workflow is highlighted.
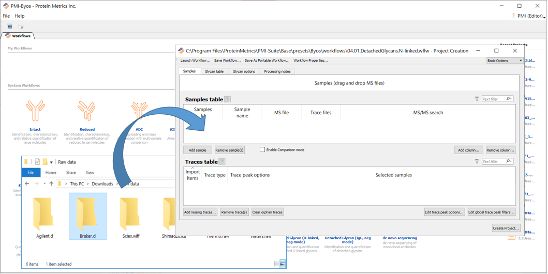
Drag and drop the sample file(s) to be processed into the Samples tab, as shown in the figure below. These can be from any vendor.
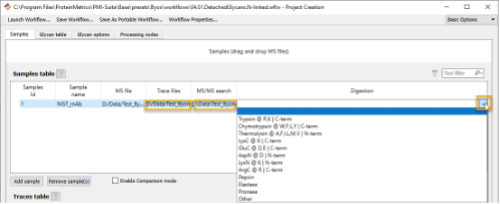
The user can load a Traces file, an MS/MS search result *.byrslt file, and has an option to set the digestion parameters. To load the trace file and MS/MS search result file, click within the box to activate the light blue “…” box, and upload the respective files. For setting the digestion parameter, use the dropdown menu to select the enzyme.
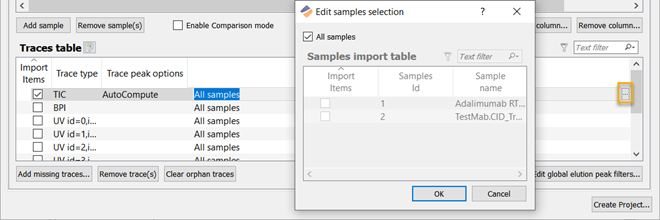
The user can associate traces with samples. To associate traces, click within the box to activate the light blue “…” box, as shown in the figure below.
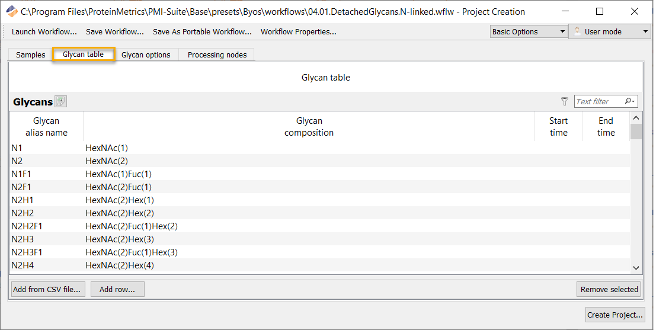
Each default workflow includes a table of common glycans. The user can choose to use the default list, add to it, or replace it entirely with a customized list with the Add from CSV file button.
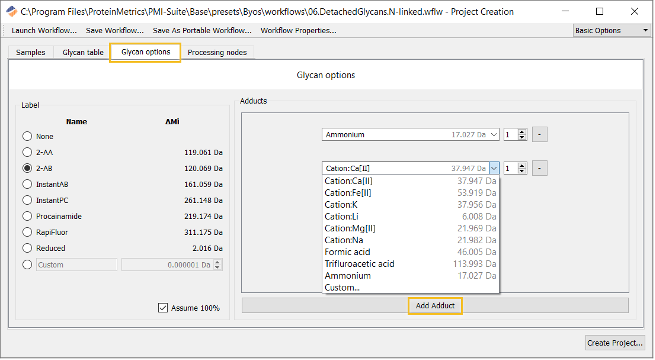
If using a fluorescent tag, the user can set this in the Glycan options tab. Several commonly used tags are included by default; if an alternative mass is preferred, please use the Custom radio button. The user can also add adduct masses to be considered in calculations using the Add Adduct button.
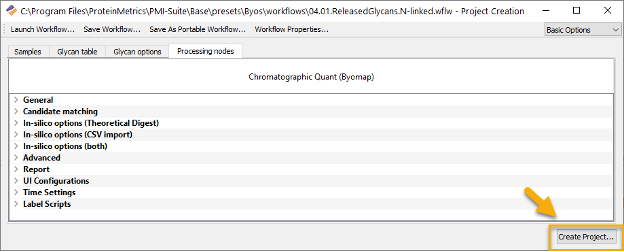
Click Create Project to start analysis and report generation. Please note Byos will save this type of project as a *.bmap file.
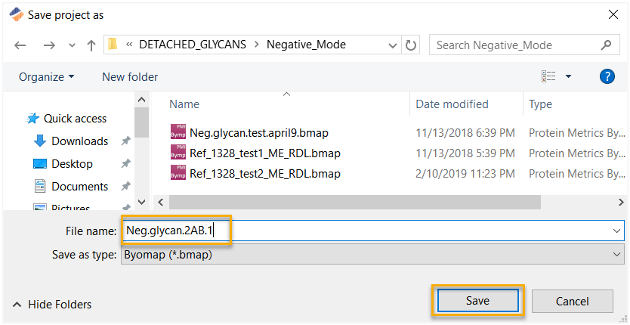
The user will be prompted to name and save the analysis file.
Processing will begin. Once complete, the project and associated report will appear as additional tabs after the Workflows tab, as shown in the figure below.
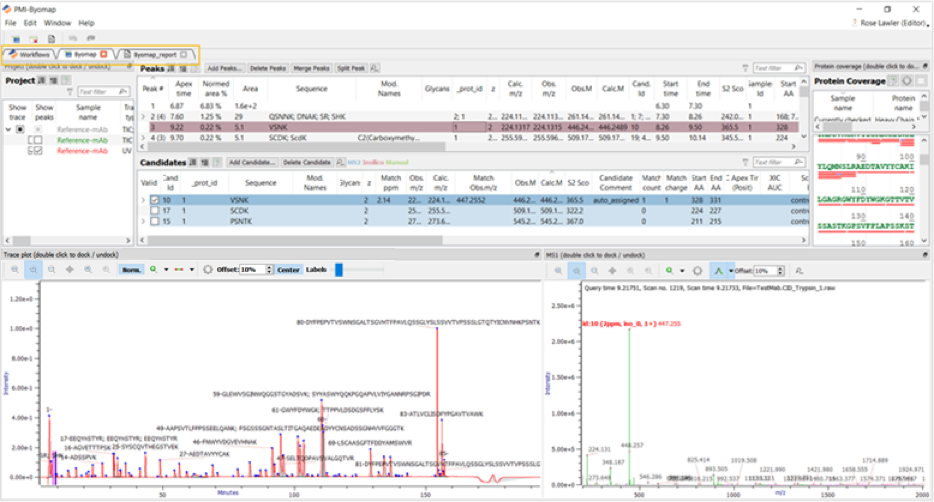
Learn More
Chromatogram & Released Glycans
Commonly asked questions about chromatogram and released glycan workflows
Released Glycans
Knowledge Base article on using the released glycans workflow
Byonic: N-Linked Glycopeptide Analysis
Application note on N-linked glycopeptide analysis
Application Notes
Application notes on a variety of subjects
More Resources
GUIDEQuick Guide to Chromatogram Analysis
An easy guide to getting started with chromatography workflows, including reference, characterization and in-silico chromatography.
GUIDEQuick Guide to HRIM Analysis
Follow this short guide and learn how to get started with MOBILion High-Resolution Ion Mobility (HRIM) analysis.
VIDEO SERIESWorking with Chromatogram Workflows
Learn to use chromatogram workflows for peak analysis, adjust baselines, integrate peaks, align traces, and explore glycan analysis.
WEBINARBiosimilars and Innovator Glycans
Compare biosimilar and innovator glycan analysis to understand therapeutic efficacy and patient outcomes.
